Google AdSense is one of the most popular and effective ways to monetize your website or blog. By displaying targeted ads, you can earn revenue every time someone clicks on an ad on your website. However, sometimes, you may encounter an ads.txt error in your AdSense account, which can lead to a significant decrease in your earnings.
An ads.txt error occurs when the Google AdSense system is unable to verify your website’s ownership or access your website’s authorized sellers’ list. This error can cause your ad revenue to drop significantly or even prevent your ads from appearing on your website.
If you’re experiencing an ads.txt error in your Google AdSense account, you’re in the right place. In this article, we’ll provide you with a step-by-step guide on how to fix this error and get your ad revenue back on track.
Understanding ads.txt
Before we dive into the solutions, let’s first understand what ads.txt is and why it’s important. ads.txt stands for Authorized Digital Sellers, and it’s a simple text file that lists all the authorized digital advertising platforms that are allowed to sell your website’s ad inventory.
When you sign up for Google AdSense, you’ll be required to add an ads.txt file to your website’s root directory. This file ensures that only authorized digital advertising platforms can sell your ad inventory, which helps to prevent fraud and maximize your ad revenue potential.
How do I fix an ads.txt error in my Google AdSense account?
If you’re experiencing an ads.txt error in your Google AdSense account, don’t panic. The good news is that this error is easy to fix, and you don’t need to be a tech expert to do it. Here’s how:
Step 1: Identify the Error
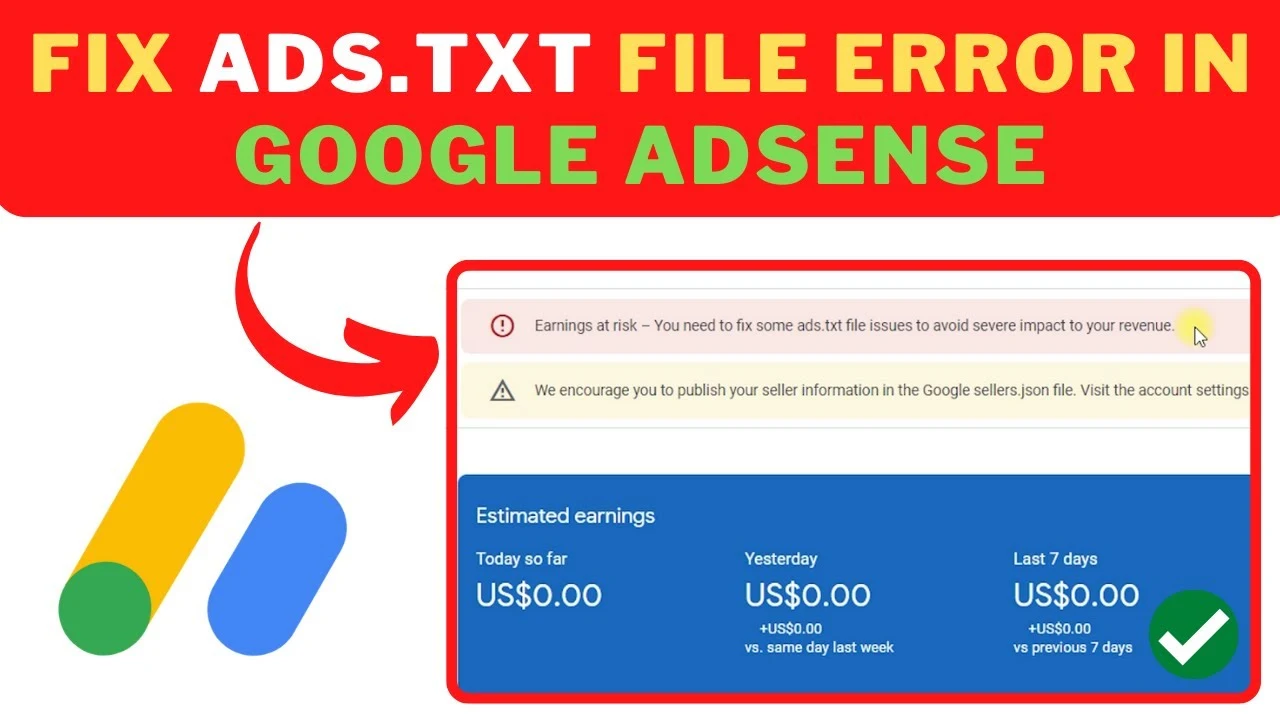
To fix an ads.txt error in your Google AdSense account, you need to first identify the error. Log in to your AdSense account and look for a red banner at the top of your dashboard. The banner will warn you that your earnings are at risk and that one or more of your ads.txt files does not contain your AdSense publisher ID. This message will prompt you to fix the issue to avoid significant revenue loss.
Once you have identified the error, you can proceed to the next step in resolving the problem.
Step 2: Locate Your ads.txt File
The next step is to locate your website’s ads.txt file. This file should be located in the root directory of your website, which is the main folder that contains all the files and folders for your website.
To access your website’s root directory, you’ll need to use an FTP client or your website’s cPanel file manager. Once you’ve logged in, navigate to the root directory of your website and look for the ads.txt file.
If you can’t find the ads.txt file, you can create one using a simple text editor like Notepad. Just make sure to save the file as “ads.txt” and upload it to the root directory of your website.
Step 3: Check Your ads.txt File for Errors
Once you have located your website’s ads.txt file, the next step is to check it for errors. One of the most common errors in ads.txt file is a missing AdSense publisher ID, which is a unique ID assigned to your AdSense account.
To check your ads.txt file for errors, open it using a text editor and look for your AdSense publisher ID. If it’s missing, add it to the file using the following format: “google.com, pub-xxxxxxxxxxxxxxxx, DIRECT, f08c47fec0942fa0”. Make sure to replace “pub-xxxxxxxxxxxxxxxx” with your actual publisher ID, which can be found in your AdSense account.
Double-check the formatting of each line in your ads.txt file to ensure that it follows the correct syntax. Each line should contain the domain name of the advertising system, followed by your publisher ID, the type of account you have (such as “DIRECT”), and a unique identifier code (such as “f08c47fec0942fa0”).
It’s important to note that the information in your ads.txt file must match the information in your AdSense account exactly. Any discrepancies can result in errors and prevent ads from being served on your website.
Step 4: Save and Upload Your ads.txt File
Once you’ve made any necessary changes to your ads.txt file, save it and upload it to the root directory of your website. If you’re using an FTP client, simply drag and drop the file into the root directory. If you’re using cPanel file manager, click on “upload” and select the file from your computer.
Step 5: Verify Your ads.txt File
The final step in fixing an ads.txt error in your Google AdSense account is to verify your ads.txt file. To do this, log in to your AdSense account and go to the “Account” section. Click on “Status” and then “Account Information.”
Under “Account Information,” you’ll see a section called “Verification.” Click on “View Details” next to the ads.txt entry. If your ads.txt file is verified, you’ll see a green checkmark. If not, you’ll need to wait a few hours for the system to update and verify your file.
That’s it! By following these simple steps, you should be able to fix any ads.txt errors in your Google AdSense account and start earning ad revenue again.
FAQs
- What happens if I don’t fix an ads.txt error in my Google AdSense account?
If you don’t fix an ads.txt error in your Google AdSense account, your ad revenue may decrease significantly or your ads may not appear on your website at all. It’s important to fix these errors as soon as possible to ensure that you’re maximizing your ad revenue potential.
- Can I edit my ads.txt file directly in my AdSense account?
No, you cannot edit your ads.txt file directly in your AdSense account. You’ll need to locate the file in your website’s root directory and make any necessary changes there.
- How long does it take for the system to verify my ads.txt file?
It typically takes a few hours for the system to verify your ads.txt file. If your file is still not verified after a few hours, try clearing your browser cache and refreshing the page.
Conclusion
Fixing an ads.txt error in your Google AdSense account is crucial to maximizing your ad revenue potential. By following the simple steps outlined in this article, you should be able to fix any ads.txt errors and get back to earning ad revenue in no time.
Remember to regularly check your AdSense account for any errors and keep your ads.txt file up to date to ensure that you’re always maximizing your ad revenue potential. Good luck!
Read this also: How to Fix Linktree Not Working Issue on Instagram 2023?